Have you found yourself fascinated by those perfectly fluffy, brushed-up brows sweeping across social media? Maybe you’ve wondered if you could create that salon-sleek look at home, saving both time and money. That’s exactly where my curiosity about DIY brow lamination began. The promise of symmetrical, voluminous, and low-maintenance brows—all from the comfort of my own bathroom—was hard to resist. But was this at-home trend as straightforward and safe as it seemed? Guided by the urge for picture-perfect brows, I decided to try out DIY brow lamination myself. Here’s everything I learned through the process, the risks I encountered, and whether I’d recommend you try it—or leave it to the pros.
What Is Brow Lamination and Why the Hype?
Brow lamination is a beauty treatment that restructures brow hairs, keeping them in a set shape for weeks. Think of it as a perm for your brows, but with the goal of making them look fuller, smoother, and easier to style. No matter how unruly or sparse your brows may be, lamination offers the illusion of symmetry and fullness—with zero permanent commitment.
The procedure has exploded in popularity, especially among women looking for low-maintenance beauty routines or those seeking an alternative to microblading or brow tinting. It’s the secret behind those brushed-up, runway-ready brows you see in magazines and Instagram.
But while salons like Bronze Salon offer brow lamination handled by skilled aestheticians, a wave of at-home kits and tutorials has put DIY brow lamination within easy reach. It almost feels like the ultimate beauty hack…until you dig deeper.
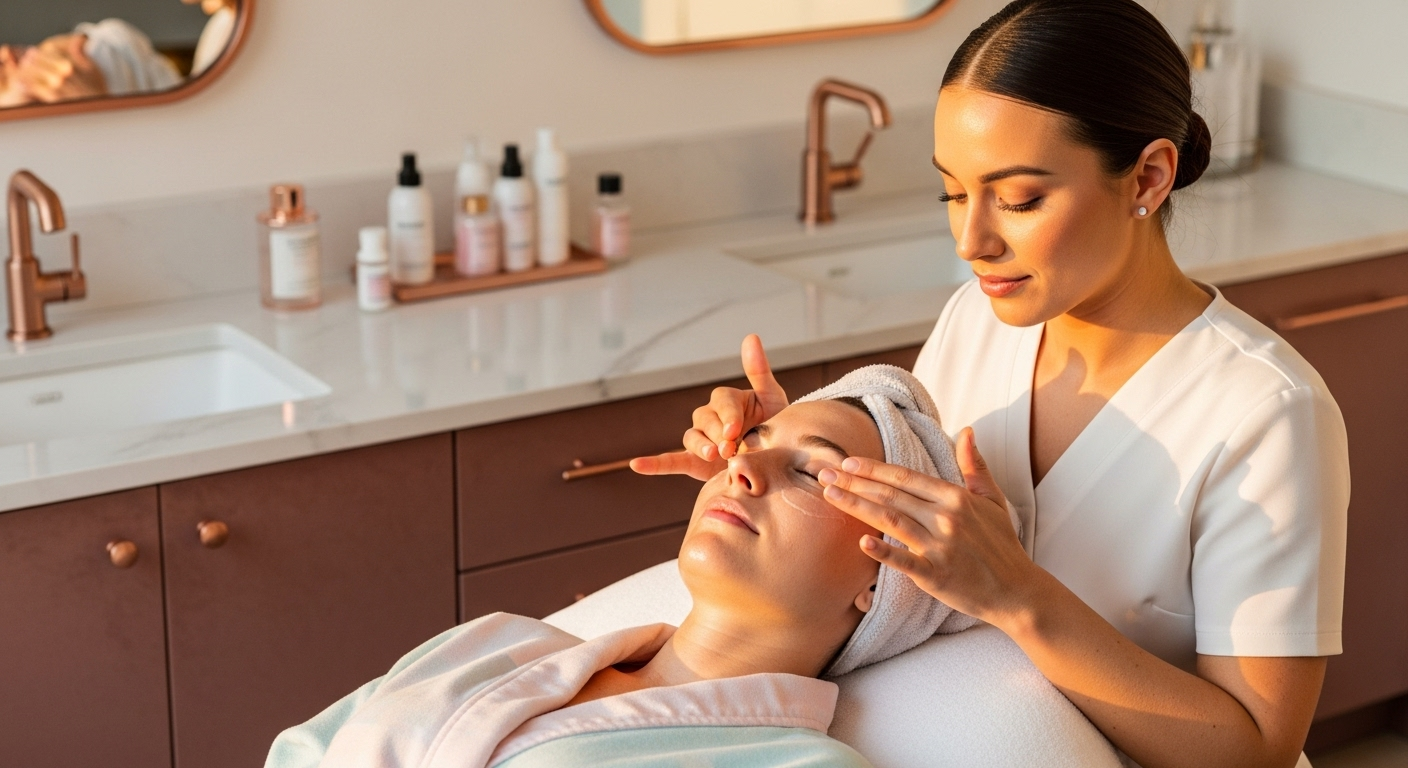
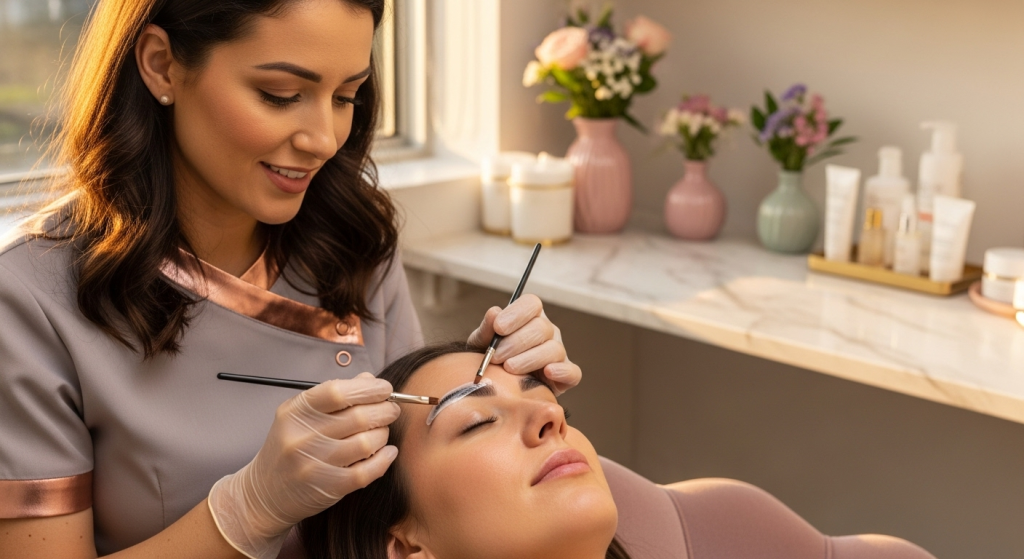
How Professional Brow Lamination Works
Professional brow lamination involves several well-timed steps:
– Brows are cleansed and shaped.
– A chemical solution (often thioglycolate-based) is applied to soften hair cuticles.
– The brows are brushed into the desired position and a neutralizer is applied to lock in the shape.
– Nourishing oils or hydrating serums are used to minimize damage.
– The entire process takes 30–45 minutes.
Certified brow artists use skin-safe, regulated products, adjust timing for different hair types, and prioritize aftercare—something not always accounted for in DIY kits.
Why DIY Brow Lamination Became Popular
The lure is obvious: DIY brow lamination is cost-effective, convenient, and (supposedly) simple. With so many how-to videos on TikTok and Instagram, it feels accessible. But convenience sometimes comes at a surprise cost—the safety of your skin, hair, and eyes.
DIY Brow Lamination: My Step-by-Step Experience
After hours of researching DIY brow lamination kits, I ordered one with promising reviews. Here’s exactly what happened when I attempted to laminate my brows at home.
Step 1: Preparing My Brows
I started by removing all makeup and oil from my brows. This step is crucial for even coverage and minimizing irritation. I used a gentle micellar water and let my skin dry completely.
Step 2: Applying the Lifting Solution
The DIY kit included labeled sachets and a plastic spoolie. I brushed the lifting solution onto my brow hairs, taking care not to touch my skin. The odor caught me off guard—strong, almost chemical. Unlike at a professional salon, I felt hesitant about whether I was using too much or too little. I left the product on for the recommended time (8 minutes), but noticed itching almost right away.
Step 3: Shaping the Brows
After removing the first solution with a cotton pad, I used the spoolie to “laminate” my brows upward. This was trickier than expected; getting perfectly uniform placement demands a practiced hand.
Step 4: Neutralizing
Applying the neutralizing solution seemed straightforward. Still, the smell lingered, and I worried about potential contact with my eyes or skin. I rinsed off after the suggested time.
Step 5: Moisturizing and Final Results
I finished by applying the serum provided. My brows looked immediately fuller and stood up dramatically—maybe even too much. The effect was visible, but I noticed some mild redness around my brows and a stinging sensation that lasted over an hour.
DIY Brow Lamination: Risks and Side Effects You Need to Know
My DIY brow lamination left me with bold results, but also with new questions about safety. Here’s what every beauty lover should seriously consider before trying the trend at home.
Potential Risks of At-Home Brow Lamination
– **Skin Irritation:** DIY kits often use strong chemicals that can cause burns or dermatitis, especially if left on too long.
– **Allergic Reactions:** Ingredients can provoke itching, swelling, rashes, or even more severe allergic responses.
– **Damage to Brow Hairs:** Overprocessing may lead to thinning, breakage, or uneven brows.
– **Chemical Drips Near Eyes:** The proximity of chemical solutions to delicate eye tissue is a clear hazard.
– **Unpredictable Results:** Without professional expertise, it’s easy to end up with asymmetrical or overly stiff brows.
Long-Term Impact and Aftercare Concerns
Unlike with expert services like Eyebrows & Lashes Services, most DIY kits offer minimal aftercare advice. Both hair and skin require gentle aftercare:
– Avoid makeup for at least 24 hours.
– Moisturize brows with gentle, nourishing oils.
– Refrain from rubbing or wetting the area for a day.
– Monitor for redness or allergic reactions and seek help if symptoms persist.
Even with the best intentions, I realized that my at-home results didn’t match what I’d seen on my favorite beauty pages—or what I’d experienced with a pro.
Professional Brow Lamination vs. DIY Brow Lamination
With so much at stake, how do at-home attempts stack up against the beauty salon treatment? Here’s a point-by-point comparison.
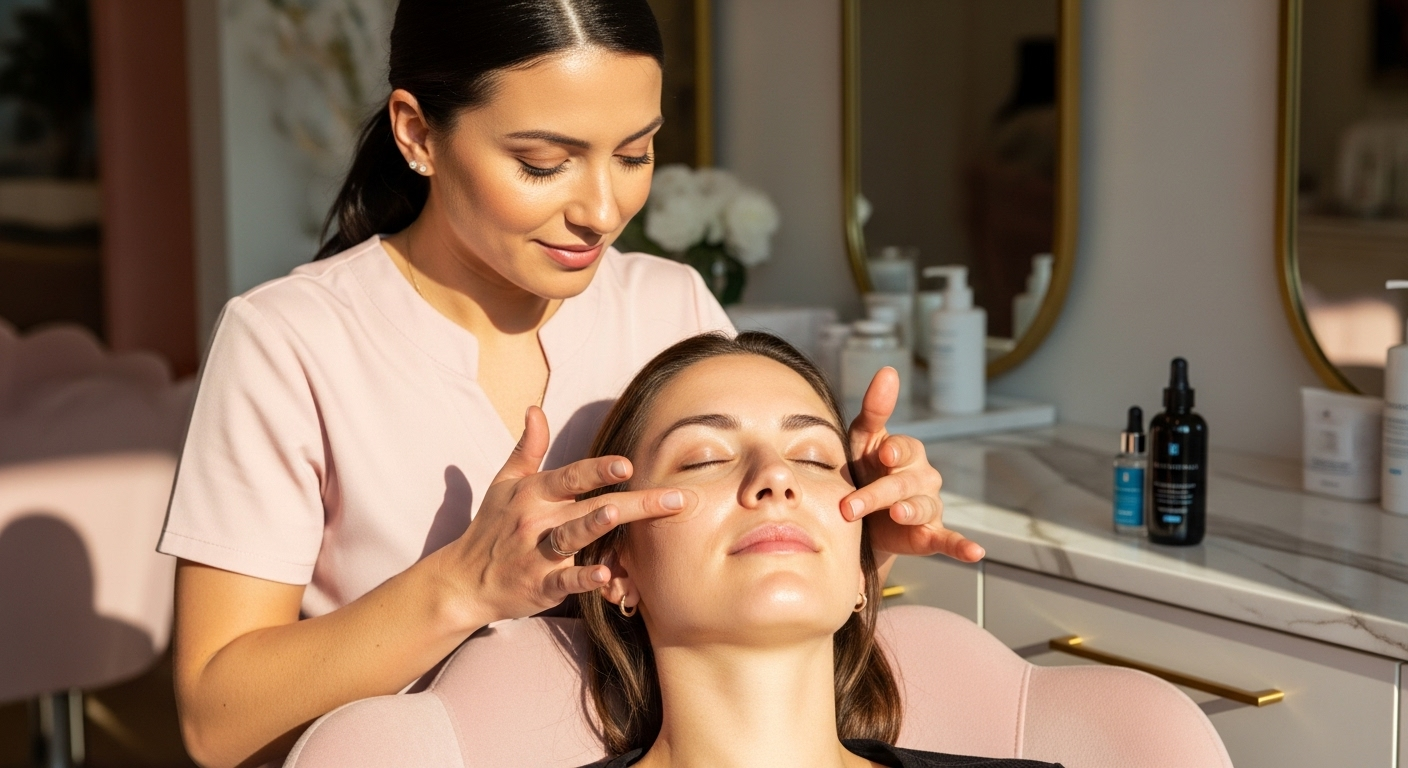
Precision and Results
At reputable salons, brow lamination is tailored to your unique bone structure, hair growth, and personal preferences. Technicians at places like Bronze Salon design your brow shape with expert knowledge, ensuring even, natural results that complement your features.
DIY brow lamination, even if you follow every step perfectly, can leave you with unevenness or over-lifted hairs. It’s much harder to manage stubborn or thin brows without tackling possible skin and hair risks.
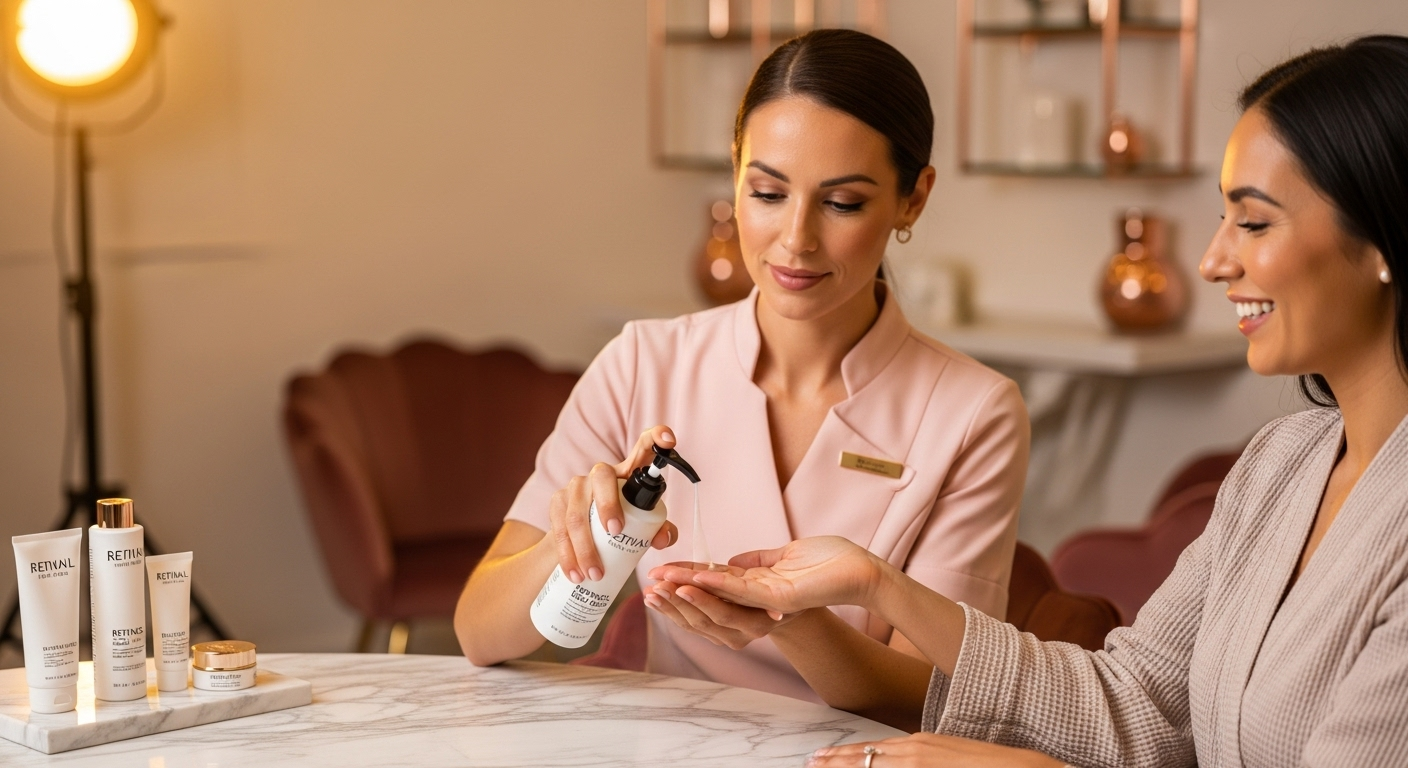
Product Quality and Safety
Professionals use medical-grade, patch-tested solutions, guaranteeing minimized irritation and maximum performance. DIY kits—which vary widely in quality—may contain harsher chemicals, unclear instructions, or lack allergy testing altogether.
Comfort and Aftercare
Licensed brow experts prioritize both comfort and long-term lash and brow health, offering specific aftercare—including access to soothing treatments or calming facial services like Skincare Services. Home kits put the burden of research and aftercare entirely on you.
Should You Try DIY Brow Lamination?
After my trial, I see both sides. Here’s how to decide if DIY brow lamination is worth it for you—or if the risks outweigh the reward.
DIY Brow Lamination Might Be Worth Trying If…
– You’re confident in following chemical product safety instructions.
– Your skin and brows are generally resilient with no history of sensitivities.
– You do a patch test on your inner arm 48 hours before application.
– You’re comfortable risking less-than-perfect results.
When to Skip DIY and Go Pro
– You have sensitive skin, eczema, or allergies.
– You’re concerned about chemical risks near your eyes.
– You want consistently stunning, natural-looking results.
– You expect guidance on brow shaping or aftercare.
– You prefer a spa experience, relaxation, and professional pampering.
Not sure? Consider booking a consultation for Eyebrows & Lashes Services with experienced technicians who can answer your questions and recommend safer alternatives.
Top Tips for Safe DIY Brow Lamination
If you’re determined to try DIY brow lamination at home, here are some essential steps for minimizing risk and maximizing results.
1. Choose a High-Quality Kit
Look for products with transparent ingredient lists, positive reviews, and clear instructions. Don’t be lured by bargain kits with unknown origins.
2. Always Perform a Patch Test
Test each product 48 hours before using it on your face. Apply a small amount to your inner arm and monitor for itching, redness, or swelling.
3. Protect Your Skin
Use a thick layer of petroleum jelly around your brows to shield delicate skin from chemicals.
4. Follow the Instructions Exactly
Never leave products on longer than directed. Set a timer—guesswork can lead to burns.
5. Avoid Eye Contact and Wear Gloves
Chemical solutions can cause permanent eye damage: apply carefully and avoid touching your face.
6. Moisturize and Soothe Afterwards
Nourish your brows with castor oil, aloe vera, or the serum provided. This helps recover moisture and reduce brittleness.
7. If in Doubt, Seek Help
Don’t hesitate to reach out for professional advice if things go wrong. Contact experts at Contact Bronze Salon for support and answers to your brow care questions.
Enhancing Your Brows Beyond DIY Lamination
If brow lamination at home feels risky, consider other safe, confidence-boosting ways to care for and style your brows.
Salon Brow & Lash Services for Showstopping Results
Discover tailored options designed for your unique beauty needs:
– Tinting for color and fullness
– Precision waxing—see Waxing Services
– Customized shaping, threading, or microblading
– Nourishing treatments and aftercare
Let trusted professionals elevate your entire look while you enjoy the serene setting at Bronze Salon.
Complement Your Brows with Other Beauty Upgrades
Perfect brows are just one part of a radiant look! Explore:
– Rejuvenating Skincare Services to refresh your complexion
– Signature Nails Services for hands and feet
– Trendsetting Hair Styling Services
– Luxurious Bath & Massage Services to unwind and restore
If you’re hungry for more tips and beauty inspiration, check out the salon’s Blog—you’ll find guides, product reviews, and fresh ideas for every season.
What I Learned From My DIY Brow Lamination Experience
My adventure with DIY brow lamination was a mix of excitement and caution. The upfront appeal—the fun, the savings, the creative control—certainly speaks to anyone who loves beauty hacks. But the drawbacks—itchy skin, uneven results, and the underlying risk—reminded me that some treatments truly do benefit from professional oversight.
Browsing today’s beauty trends, it’s easy to forget that your brows frame your face and deserve careful, thoughtful care. While at-home kits exist for those who like to experiment, nothing compares to the customized, soothing, and confident service you receive at a salon where your well-being comes first.
If you’re dreaming of bold, beautiful brows—without the stress or uncertainty—why not treat yourself to a session with savvy professionals? Book an Appointment with Bronze Salon and see for yourself why polished, cared-for brows are always worth the investment. You’ll walk out not just looking amazing, but feeling your absolute best.